Odoo Login Page

Odoo Customer Display

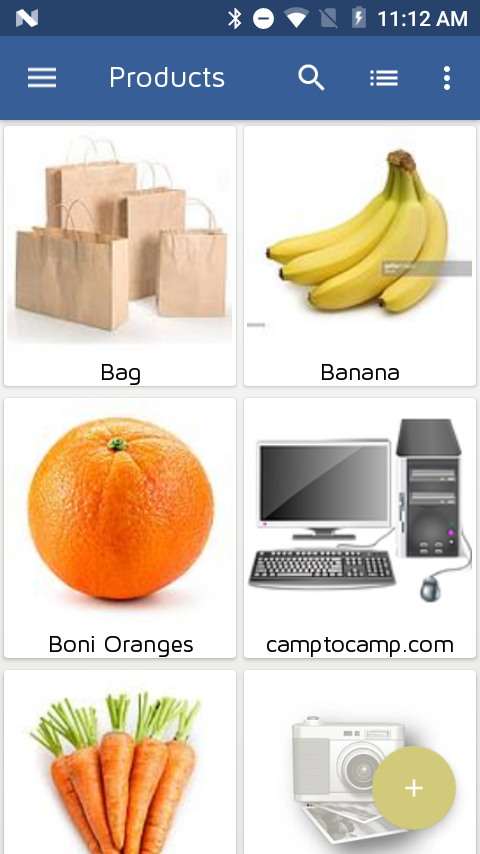
Odoo Products Display
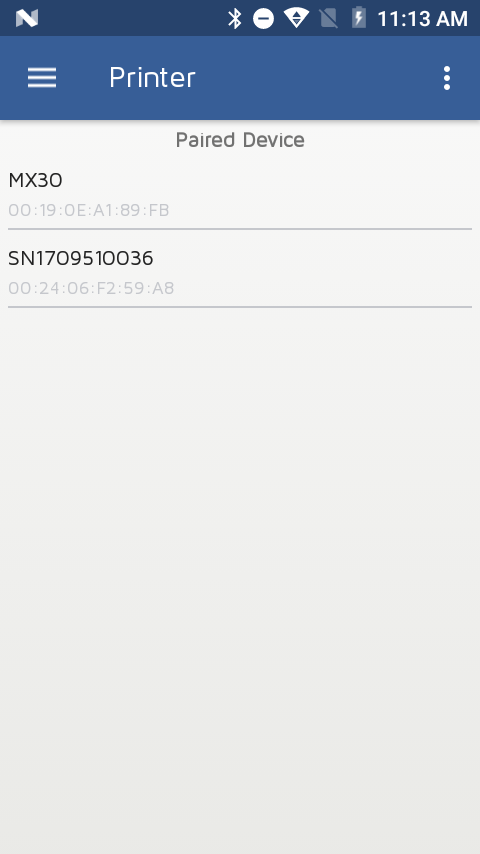
Connect Bluetooth Printer
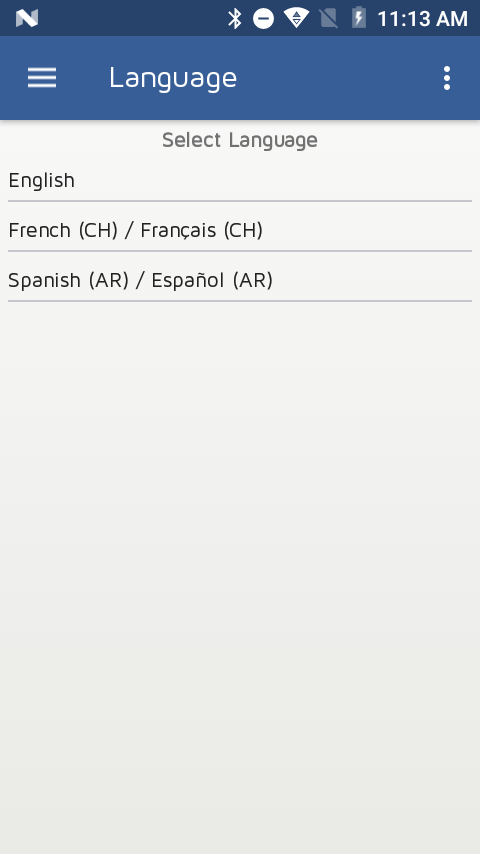
User Languages
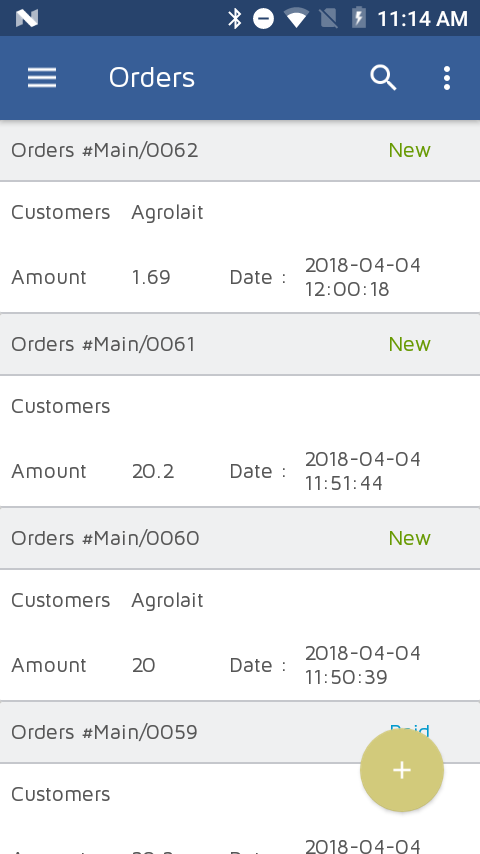
Odoo POS Order List
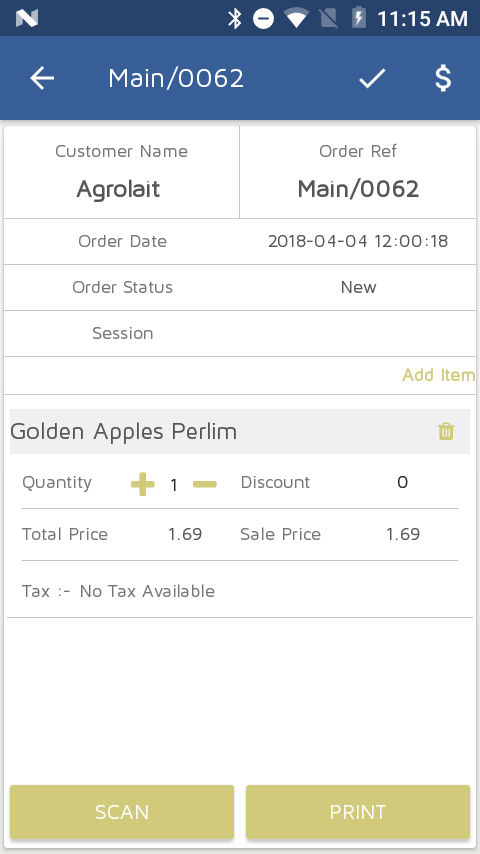
Odoo Order Details
Scan Products

Odoo POS Receipt

Odoo Login Page
Odoo Customer Display
Odoo Products Display
Connect Bluetooth Printer
User Languages
Odoo POS Order List
Odoo Order Details
Scan Products
Odoo POS Receipt
Click here to download from Odoo Apps
In ‘Product Variants’ menu, click on ‘Action’ button and select ‘Generate Ean13’ option then popup window will open.

When click on generate button, products barcode number is generate. If checkbox is true then it will override the existing barcode number of products.

In configuration, we have options available for generate products barcode number when new product is created.

Our new enhancement – It is possible to generate dynamic product label with barcode without changing module code. This module allows to generate product label with different types of barcode, dynamic page size and user define design.
We have implemented application which will be useful to search product by scanning barcode and it will display product stock according to product template and according to different warehouses configured in your database.

You can search product by writing name or reference of product or scan any barcode and that product or template will be selected automatically.


After selecting product, it will display stock information according to warehouses configured into database.

In case of Product Template, it will display all products related with template and display stock.


We are happy to announce our first Android Application on Odoo v8 framework which is for Barcode Scanning and updating product quantity.
Lets have a look that how it is working.
First we have to enter valid odoo server url and login information.


After login, we can see “Barcode” menu.

Here in application, we have provided four options:

Now when we click on first option, then we will be able to scan product using this application.

Once we scan the product, barcode number of that particulat product will be visible immediately after options. After scanning barcode, it is required to save it.


Here we can see multiple scanned Barcode List.

Now if we want to do synchronization then we have two different options available.
1. We can select particular barcode numbers and click on third option i.e. Synchronize selected barcode, so automatically quantity of those products will be increased by one.
So if we have same barcode number multiple times, then those products quantity will be increased accordingly.

2. Below image shows that we can synchronize all barcode without selecting any particular one and after completion of process, we can see Sync Successful message.

We have implemented another barcode report with size 4.3cm X 3cm. It is printing one barcode on each page based on quantity available of selected products.
User can select pricelist and currency as optional to print on barcode.


This is example of product which has 49 available quantity into stock.


This is actual printing of barcode on paper.


Lets discuss about Product Barcode Report in OpenERP where you can print 40 barcodes in A4 page with user define currency and pricelist. And it is mainly work on available quantity of product in stock.

For that we have created new report in Product.

It will popup small window with some parameters.
Column : From which column you want to start printing
Row : From which row you want to start printing
Pricelist : Select sales pricelist
Currency : Select currency that print with price on barcode

This is a report of product barcode.


You can start printing barcode from any row and column on PDF.


Click here to download from Odoo Apps
Here is the video link for the same feature: Product Return from POS Video
OpenERP Point of Sale has return product facility available from order Form view. But this feature is not available in POS interface. We have implemented very important feature – “Return products from POS Interface” so user don’t require to leave POS Interface to return the products.
Below is the screen for normal SALE mode. We have created 3 different buttons to identify the order mode.
1. Sale Mode, is a normal mode
2. Missing Receipt Mode, in which if customer doesn’t have receipt but still salesman can return order so in this case only negative order will be generated.
3. Return Mode, to return the products by comparing with original order.

Once the order is placed, we can see barcode on receipt for that order number generated.

And here is the order which is generated from POS interface.

Now lets try to return the product from POS interface.
When we click on “Return Order” button, at that time this popup will open to enter order reference number.
Here in the image where we can enter order number using barcode or manually.

Once the exact order is found, then list of products will be loaded which are available in the selected order.

If we try to select more product quantity than selected order quantity then it will raise an warning message.

We can also mention any reason for returning products what customer specified.

Once we complete partial return order then we can return the same order again for remaining product quantities displayed in following screen.

Here is the order return receipt in negative if we are returning products.

In order list we can see that main order and return orders have same order numbers with positive and negative values.

POS Order form with corresponding values.

In “note” field, we can find reason which is entered during return products.

