Odoo Login Page

Odoo Customer Display

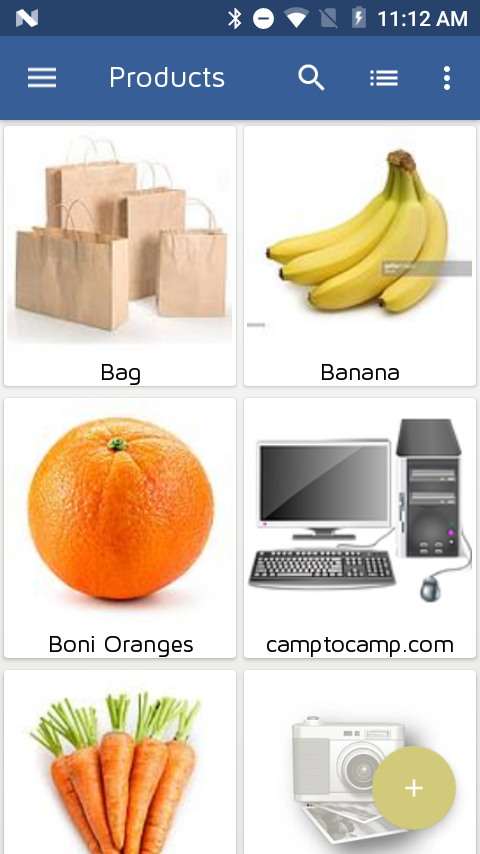
Odoo Products Display
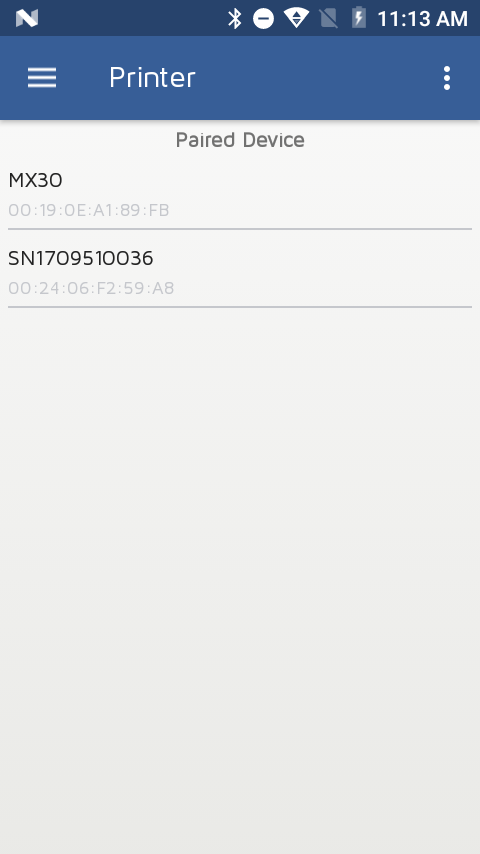
Connect Bluetooth Printer
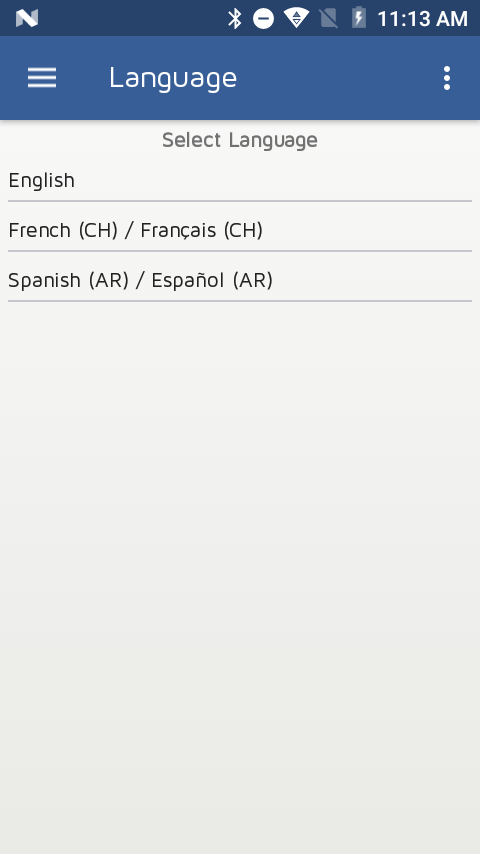
User Languages
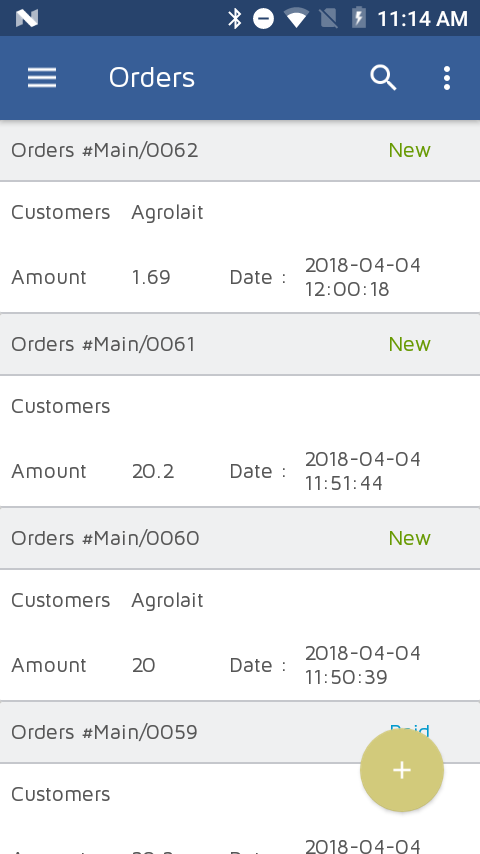
Odoo POS Order List
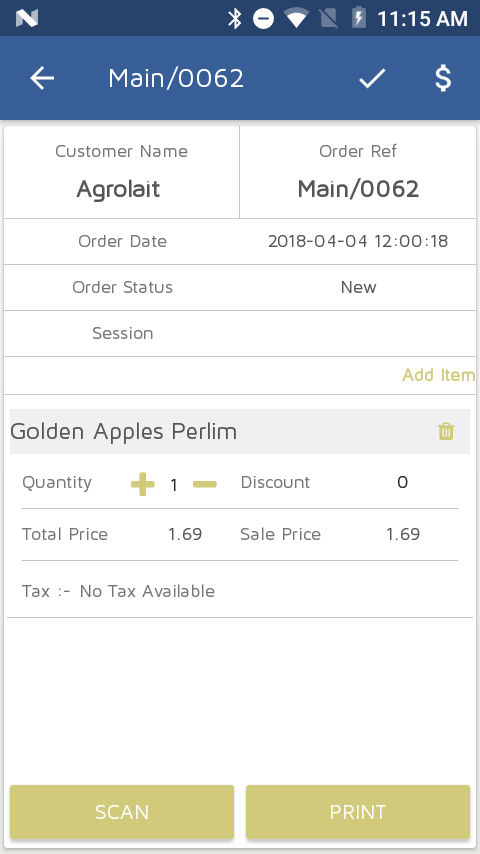
Odoo Order Details
Scan Products

Odoo POS Receipt

Odoo Login Page
Odoo Customer Display
Odoo Products Display
Connect Bluetooth Printer
User Languages
Odoo POS Order List
Odoo Order Details
Scan Products
Odoo POS Receipt
Login in to Magento Admin.
Go to Stores -> Configuration form Magento Navigation

Now, Go to Customers section and click on Customer Configuration

Now, unchecked use system value check box and select Yes for enabled “Required Emails Confirmation”

After that click on Save Config
So , Finally you can see customer have to Verify Email address for registering on your stores.

Also , you can see customers on admin who has not verified email address.
For that go to Customers -> All Customers
and on the grid section data you can find “Confirmed email” Column.

Here is one important feature related to Customer selection in Point of Sale that we have implemented.
Lets check following process so it will give better idea.
Following screen allows us to select product as we normally do.

Below screen shows list of customers.

Our selected customer will be displayed on the top with time frame.

Now we are creating more sessions and selecting different customers for each session with different list of products.

Same thing for different customers and different list of products.

Now we will validate each order one by one so that we can have customer names in POS Order backend.


Here is the list of orders that we have created from POS Interface with different products and having different customers selected.

Here is the video link for the same feature:
